 strumenti e misuregeotecniche e strutturali
Electric piezometer
Specifications
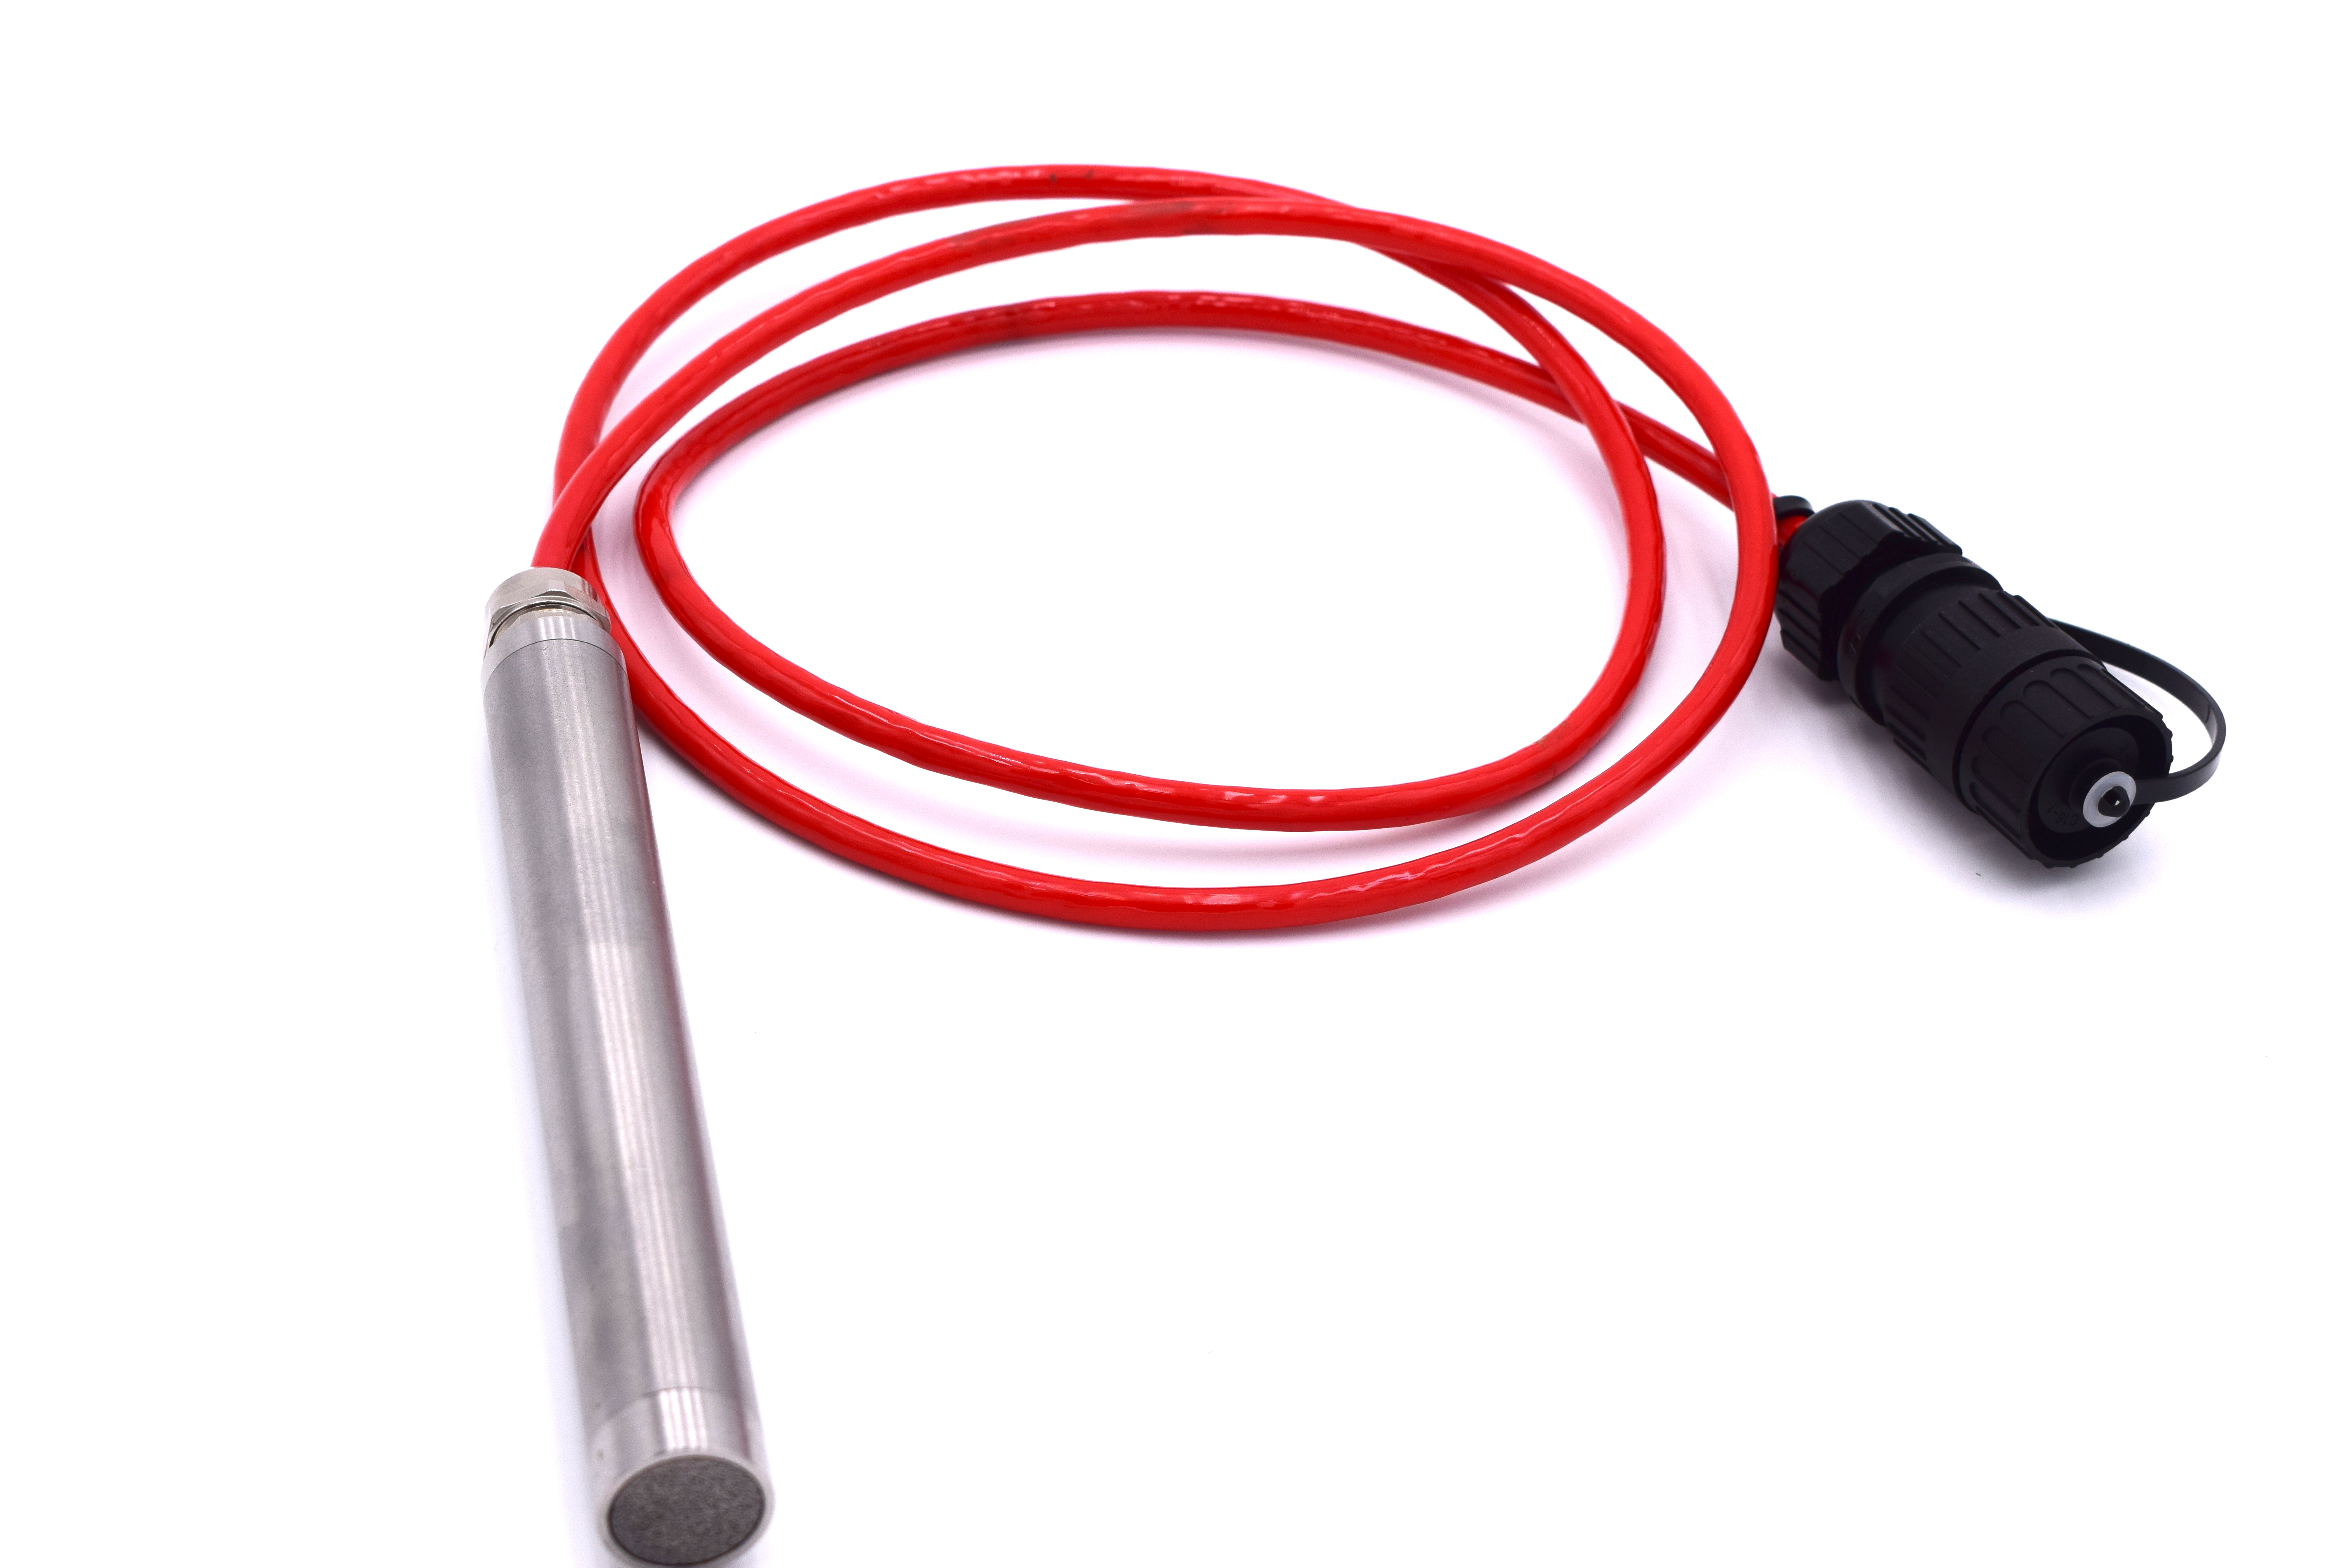
In case of: measurement of pore pressure in saturated soils, monitoring over-pressure induced by overload (road and rail embankment), monitoring groundwater levels in open pipe piezometers and wells; OTR suggest the use of the electric piezometers.
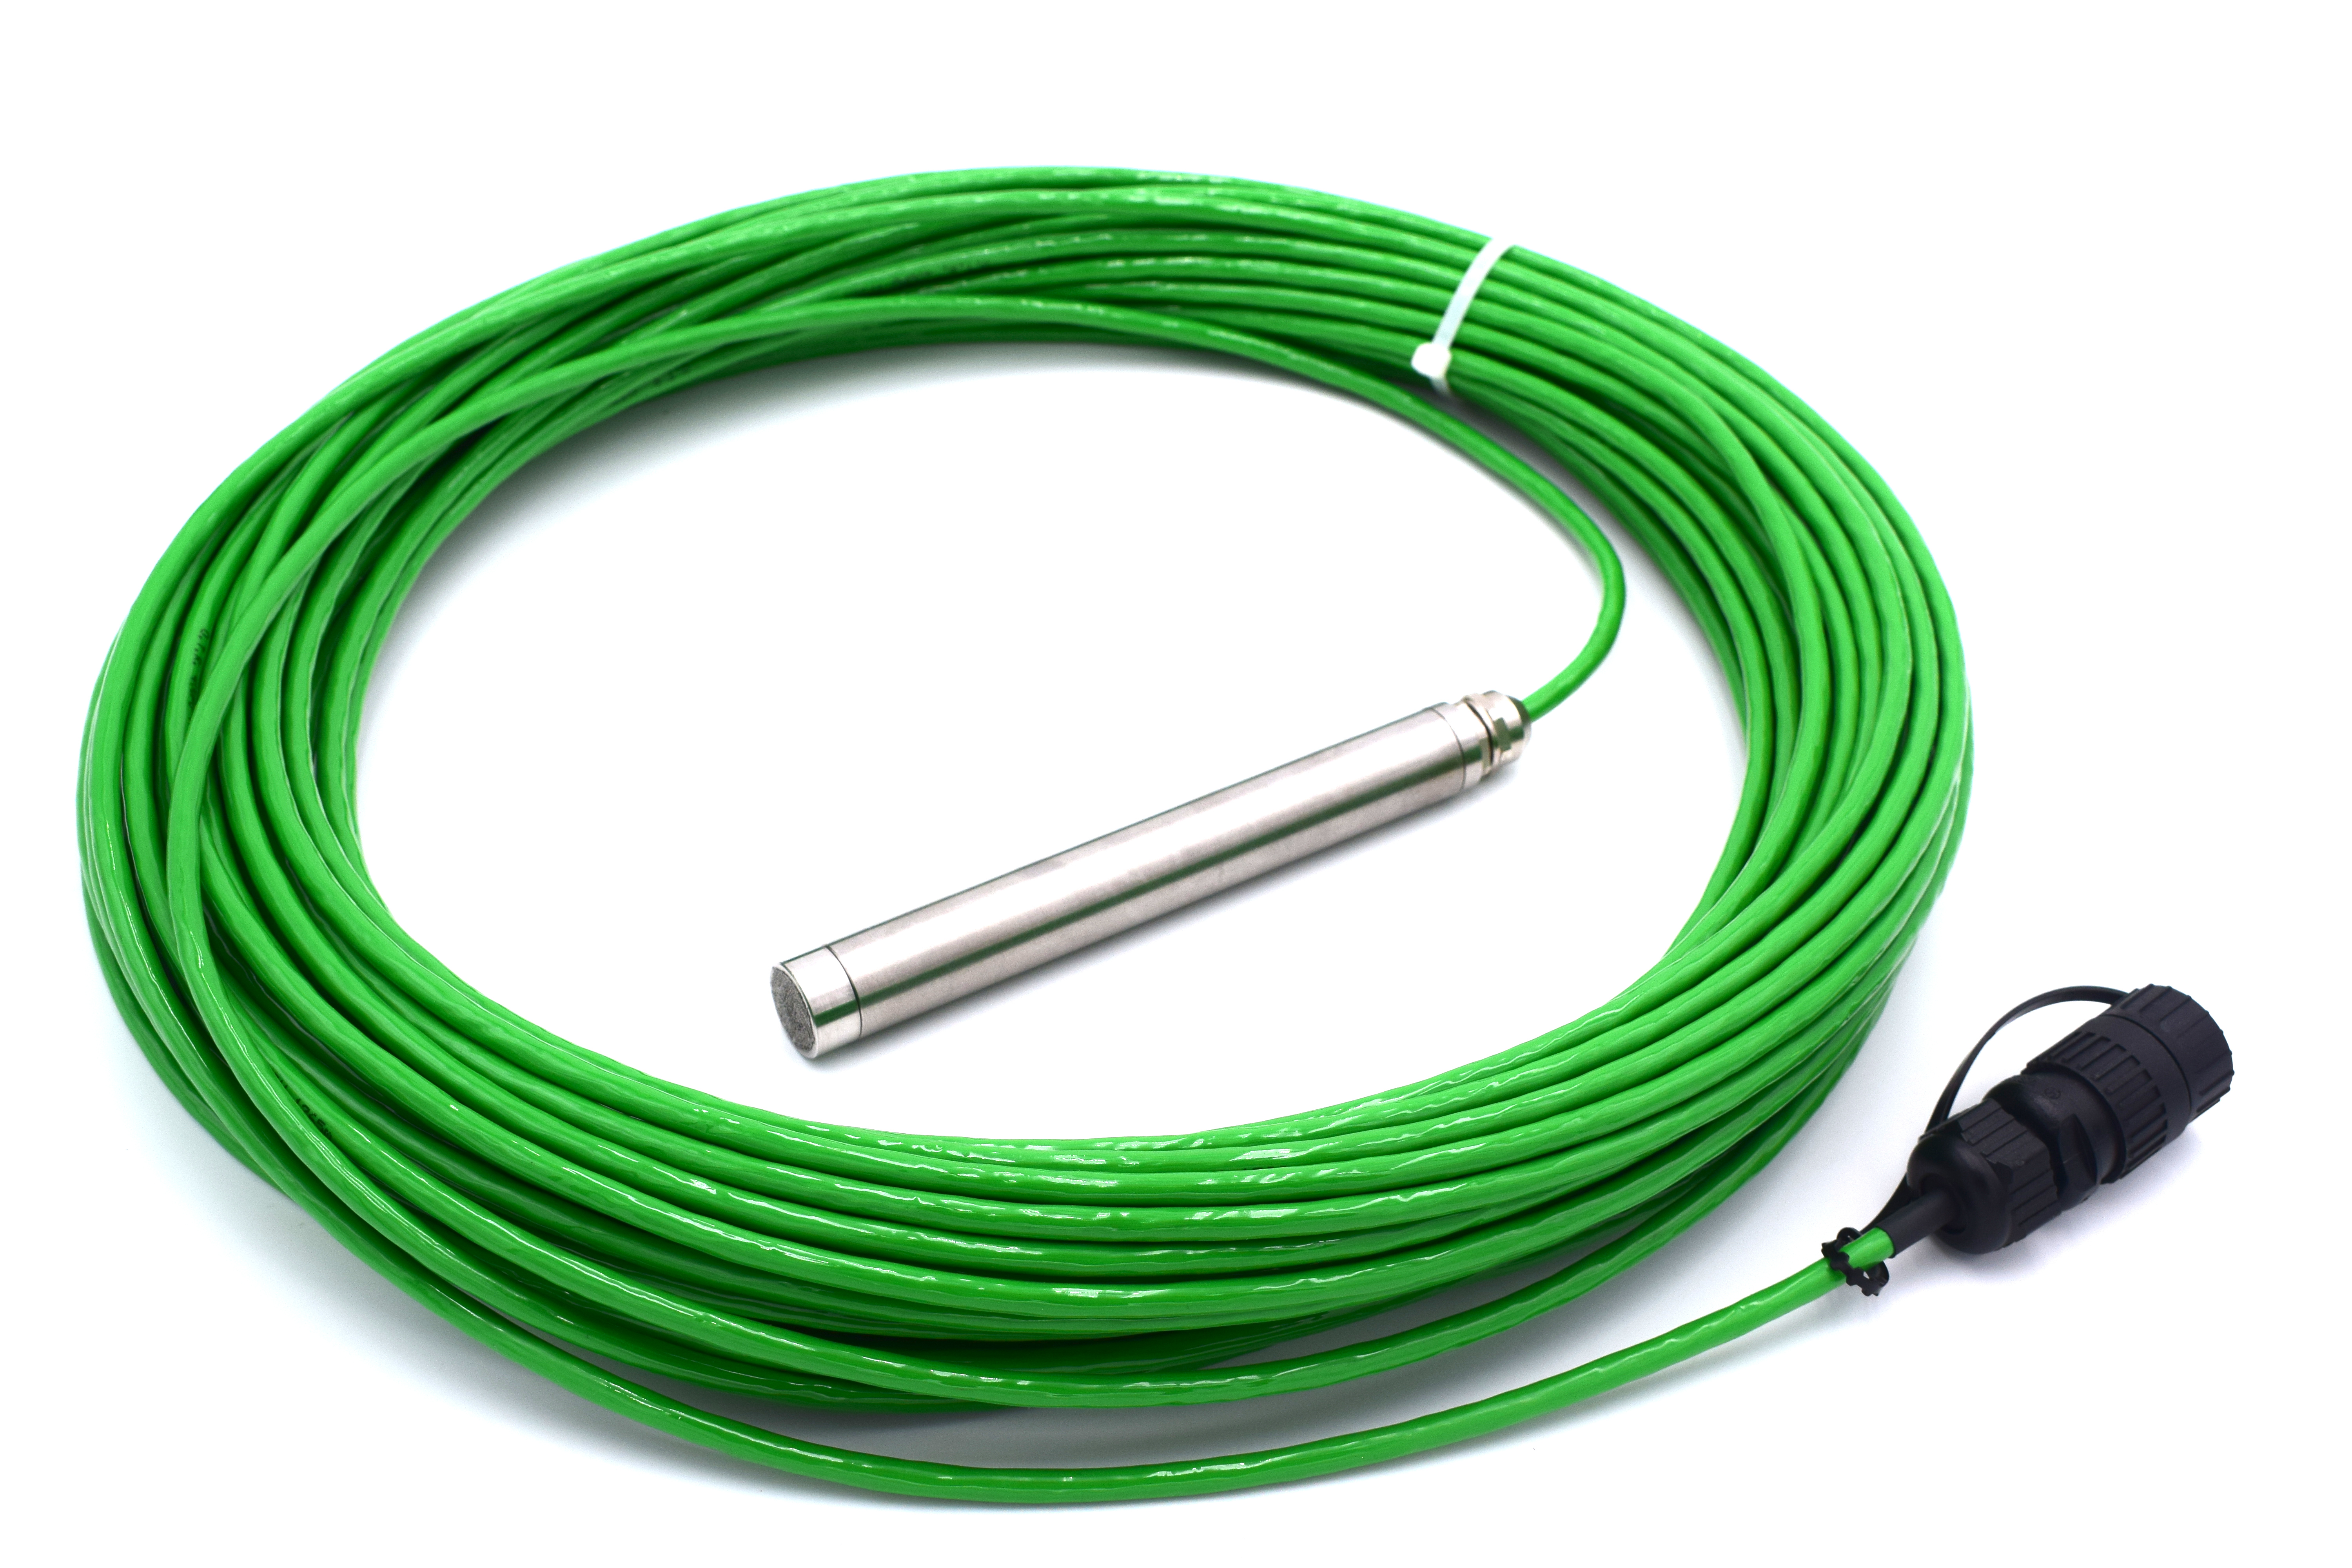
Piezometers are constituted of a cylindrical metal body that houses a pressure transducer and a front porous filter, which in turn can be made of stainless steel or ceramic.
Internal electronics are completely embedded in epoxy resin in order to ensure a long-term sealing. Electrical piezometers can perform absolute or relative measurements. The first are affected by atmospheric pressure, the latter are not. Relative measurements are allowed by a vented cable connecting the sensor membrane to open air. Capillary pipe is placed in the same cable used for power supply and signal transport. Piezometers can be customized with any cable length and any full scale calibration.
Vibrating wire piezometers output signal is insensitive to the length of the cable and unaffected by moisture. Vibrating wire piezometers are used for absolute measurements. Both electric and vibrating wire piezometers can be easily connected to portable readout units or dataloggers.
How does the instrumentation be installed?
Electrical piezometers are usually installed in a borehole which needs to be not less than 100 mm in internal working diameter, and protected with a temporary casing, if necessary.
In other cases, electrical piezometers are installed directly in the soil on embankments and/or dams.
For relative model OG200R cable has inside a capillar pipe to compensate atmospherical variations. This capillar pipe must be protected during installation (e.g. during installation in a conduit pipe, a sheat..).
In order to protect it : seal it before installation using a lighter and a nipper; when capillar pipe is closed instrument will give not correct measures; open it after installation has been finished.
Given the specific nature of this instrument, it is advised not to use drilling mud while drilling boreholes, but to only use only water instead.
For the installation in a borehole, it is advised to acquire the following materials: a depth meter, bentonite pellets, and a water bucket.
Before moving on to the description of the piezometer installation procedure, we would like to give some advice concerning the saturation procedure of the piezometer’s filter.
One of the simplest and most common procedures involves putting the filter housing and the filter to be saturated in a container of clean water, then bringing the water to a boil for 5 to 10 minutes, and then letting the water cool down. The saturated filter is then put together with the water inside a container, in order to maintain it saturated for a longer time.
After the hole has been drilled, proceed as follows:
Starting from the instrument end, unwind the electrical cable. Using a piece of tape, mark directly on the cable the distance indicating the depth under ground level at which the instrument will be positioned, starting from the end of the instrument (filter); before installing the instrument, take a reading with the readout unit, so as to obtain a first measurement in open air without any pressure being applied, and write said measurement on the installation sheet; fill the bucket with clean water and place the piezometer underwater. Then, take the container with the saturated filter and install the filter on the piezometer’s terminal, while holding it under water.
In order to maintain the saturation of the instrument’s hydraulic chamber, insert the instrument in the geotextile bag provided, and fill up the hollow space between the instrument and the bag with fine sand, then close it. All the operations described above have to be performed underwater; using the depth meter, check the depth of the bottom of the borehole; flush the borehole with clean water before lowering the instrument in it.
Take another preliminary reading with the readout unit, so as to have a zero reading; pull up the borehole casing for about 100 cm; pour fine sand or fine gravel into the borehole to form a 50-centimeter-high pocket at the bottom, checking its depth with a depth meter.
Lower the piezometer (inside the geotextile bag) to the bottom, laying it on the sand/gravel; pull up the borehole casing for about 100cm more; pour fine sand or fine gravel into the borehole until the instrument has been covered by a layer of 50cm to 100cm. Check the depth with the depth meter.
Take another reading to make sure the piezometer is working properly; pull up the casing for about 100cm more using only the upward thrust of the drilling probe, absolutely avoiding any turning motion; make a waterproof seal 50-100cm thick using bentonite pellets, checking its depth with a depth meter.

Sede Legale
Galleria San Donnino, 4
Piacenza 29121
P.IVA/CF 00894610153
Sede operativa
Amministrazione
Direzione Commerciale
+39 347 2602151
Dott. Eligio Degli Angeli
vendite@otr-geo.it
Francesco Morgante